
Step 1: Identify your Virtual Machine
Identify what Virtual Machine you want to remove. For this tutorial, I will remove a virtual machine listed as "Hello."
Common Pitfall: Remove doesn't remove
Now that we have identified what virtual machine we want to remove. When you right-click on the virtual machine, you want to remove. You will see an option: "Remove.". You're tempted to think this option will remove the virtual machine from your disk. Well, you're sadly mistaken.
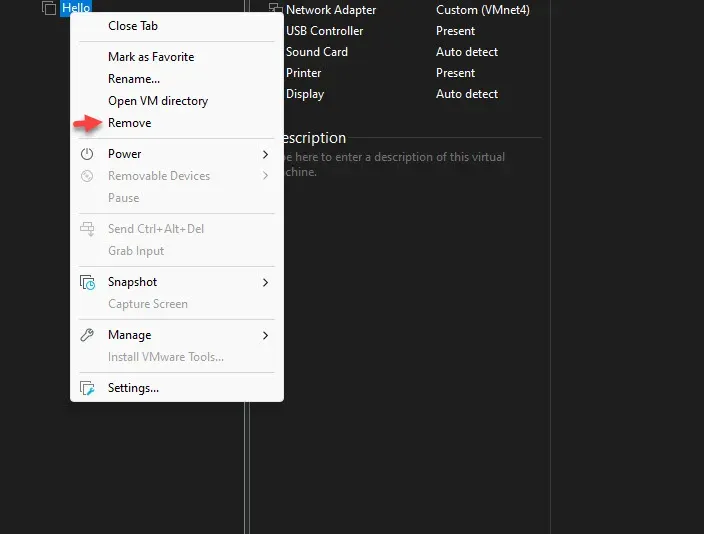
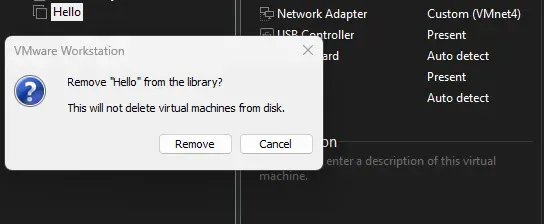
The Remove button removes the virtual machine from the "Library" and not from the disk.
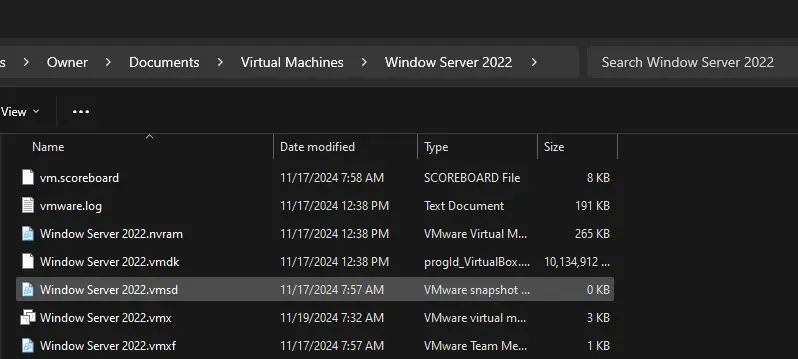
The picture below shows that despite being removed from the library, the virtual machine still exists on the Disk.
Proper Method to Removing Your Virtual Machine
Right-click on the Virtual Machine you want to remove and go to manage. Then click on "Delete From Disk."
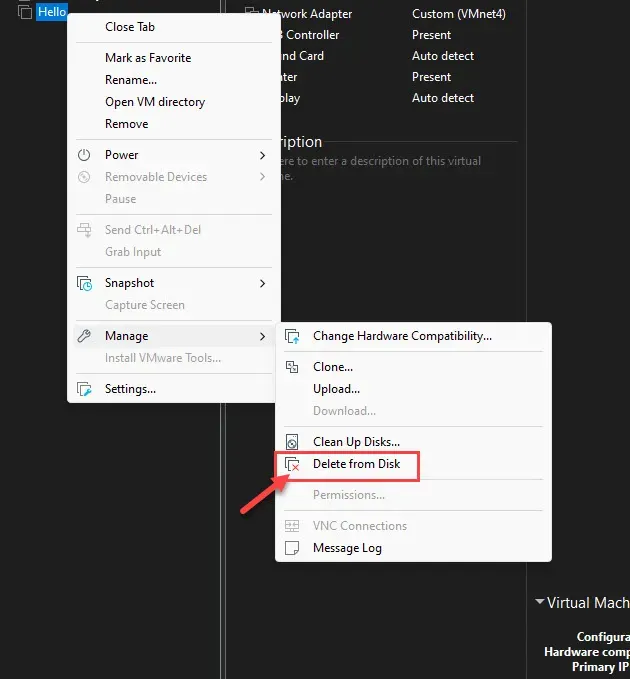
Afterwards, VMware should remove your Virtual Machine.