As Cybersecurity Experts, we must have experience with Active Directory. Most of the corporations we will work for will have an Active Directory stack.
Step 1: Acquiring a Virtual Image.
We will acquire a Windows Server 2022 Image from the Microsoft Website in this guide. Once we have the image, we can install it on a virtual machine. This will allow us to have the ability to play and understand active directories without having to install them physically on our bare machine. Let's begin.
Head to: https://www.microsoft.com/en-us/evalcenter/evaluate-windows-server-2022
Look for the button: "Download the ISO".

After you click the "Download the ISO" button, you will be redirected to Windows Server 2022 Trial.

After filling in the information, click "Download Now" at the bottom. An ISO file, "SERVER_EVAL_x64FRE_en-us," should be downloaded.
Step 2: Windows Server 2022 - VMware Installation
I will use VMware for this tutorial since I'm used to the application. You can get VMware for free using this link: https://blogs.vmware.com/workstation/2024/05/vmware-workstation-pro-now-available-free-for-personal-use.html.
An alternative is Virtual Box. Either application is fine.
Please watch the video below if you're unsure how to create a Virtual Machine with Windows Server 2022.
Window Server 2022 - Setup
After we create our empty shell virtual machine, we have to load the disc in the virtual machine before we boot it up.
Right-click Window Server 2022 -> Dropdown menu should appear -> Click on CD/DVD -> Select the ISO we downloaded -> Press Ok to save.
Step 3: Window Server 2022 Configuration
3a. House Keeping
Next, we want to give our Server a Unique name. You can look up a Random Name Generator for some ideas. For me, I will use the name: "Techirt".
To rename a Virtual machine:
Library Menu -> Click on Window Server 2022 should be highlighted once clicked on -> Right click -> Rename -> Techirt-DC1.
3b. Network Configuration
In this section, we will create a subnet for our domain controller. Think of the subnet as a zone or village. Let's begin. First, on top of the menu -> Edit -> Virtual Network Editor -> A Virtual Network Editor Menu will appear -> Here, you will see all the subnets you created.
What we want to do next is click on "Change Settings." -> Afterwards, we want to click on Add Network. Then, the menu will ask you what network you want to add. It doesn't matter what choice you choose. For now, I will select "VMnet4." After the menu creates our network, click on Apply -> Ok.

Right-click on Techirt-DC1 -> Click on Network Adapter -> Click on Custom (drop-down menu) -> Select the Subnet that we just created -> VMnet4 -> Click on Ok to save.
This is what you should have.

Step 4: Booting Up the Virtual Machine
This section covers the inside installation.
When we boot up our Virtual Machine, we will be asked to choose our operating system:
- Windows Server 2022 Standard Evaluation
- Windows Server 2022 Standard Evaluation (Desktop Experience)
- Windows Server 2022 Datacenter Evaluation
- Windows Server 2022 Datacenter Evaluation (Desktop Experience)
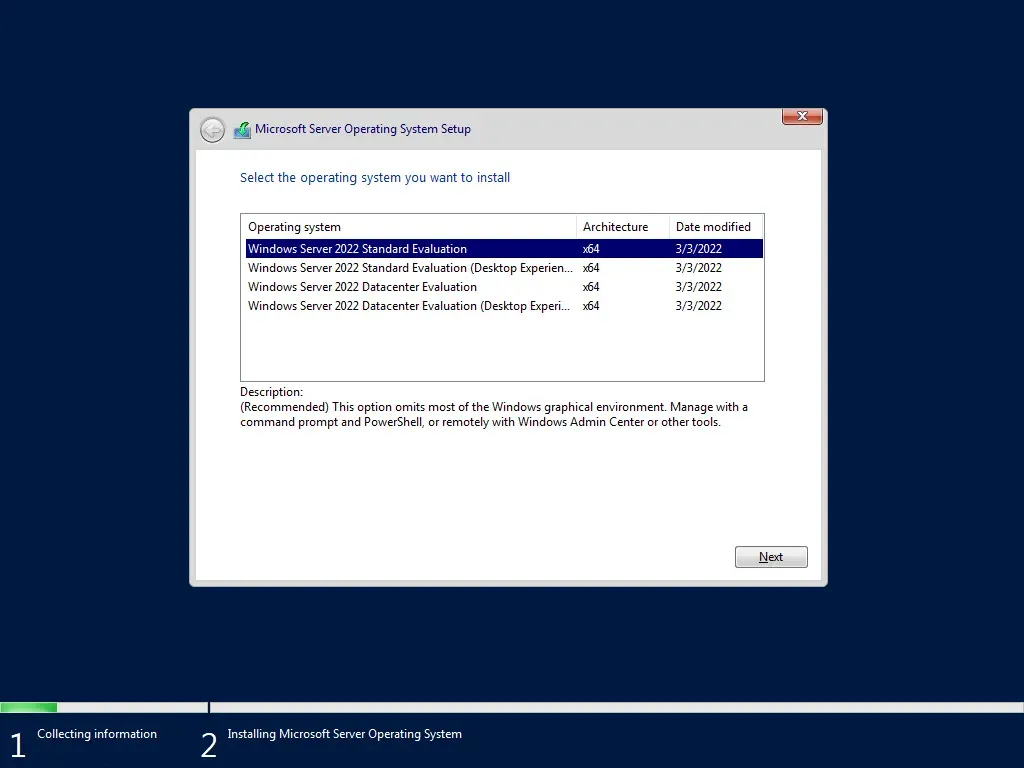
Desktop Experience will allow us to have a GUI. If we don't choose Windows Desktop Experience, we will only have a command line to interact with our server.
Standard vs. Datacenter Evaluation
Standard is more geared to small businesses or small organizations. That needs little to no virtualization.
Datacenter is more geared toward bigger organizations that need a lot of virtualization.
We will choose Windows Server 2022 Standard Evaluation (Desktop Experience) for this tutorial.
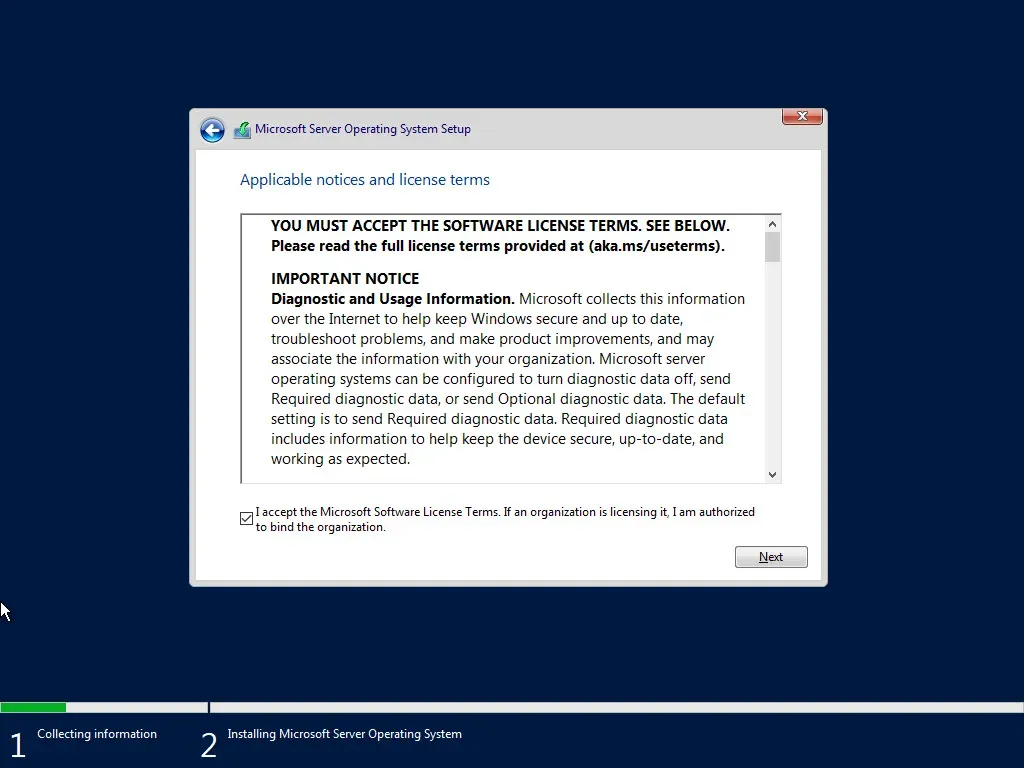
Accept the Terms of Service.
Then, it will ask, "What type of installation do you want?". We will choose "Install Microsoft Server Operating System only."
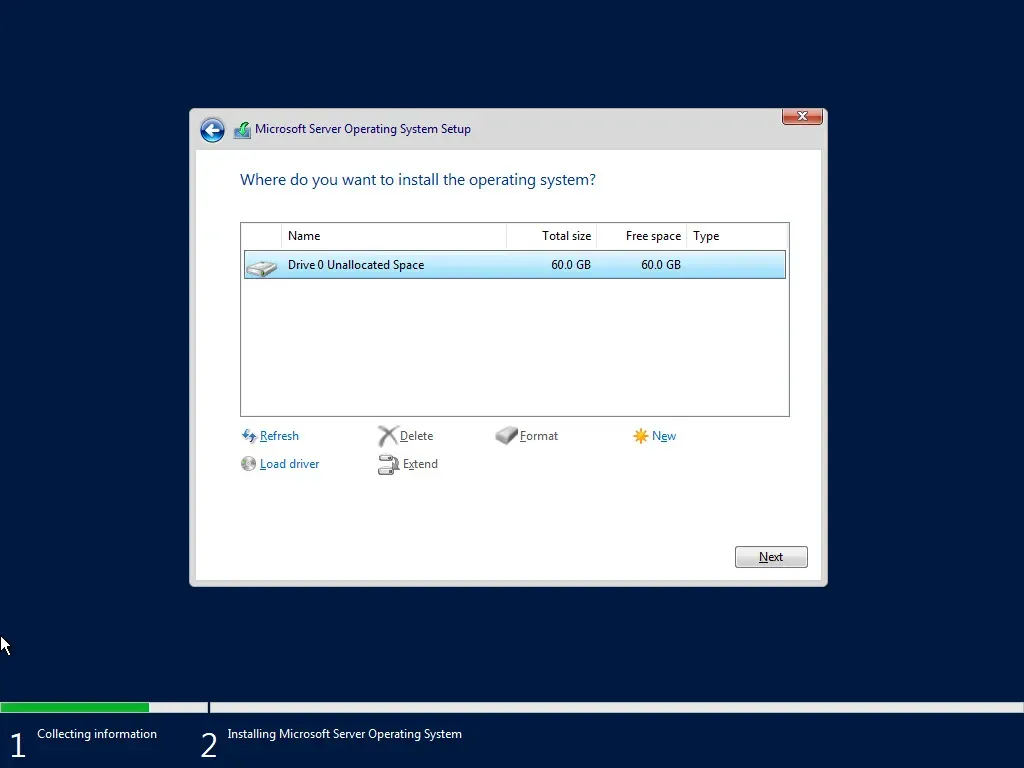
Then, it will ask you, "Where do you want to install the operating system?". We will go with the default option (Drive 0) and click next.
Then, the installation will begin.
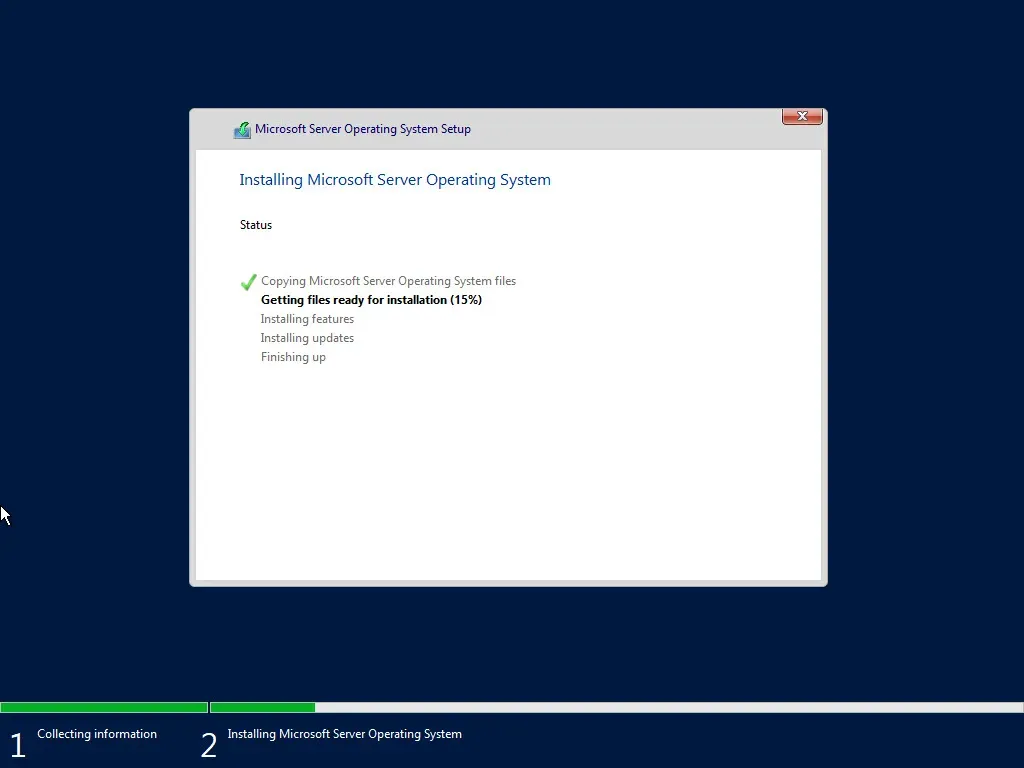
After the installation, the setup will ask us to set our Administrator account password.
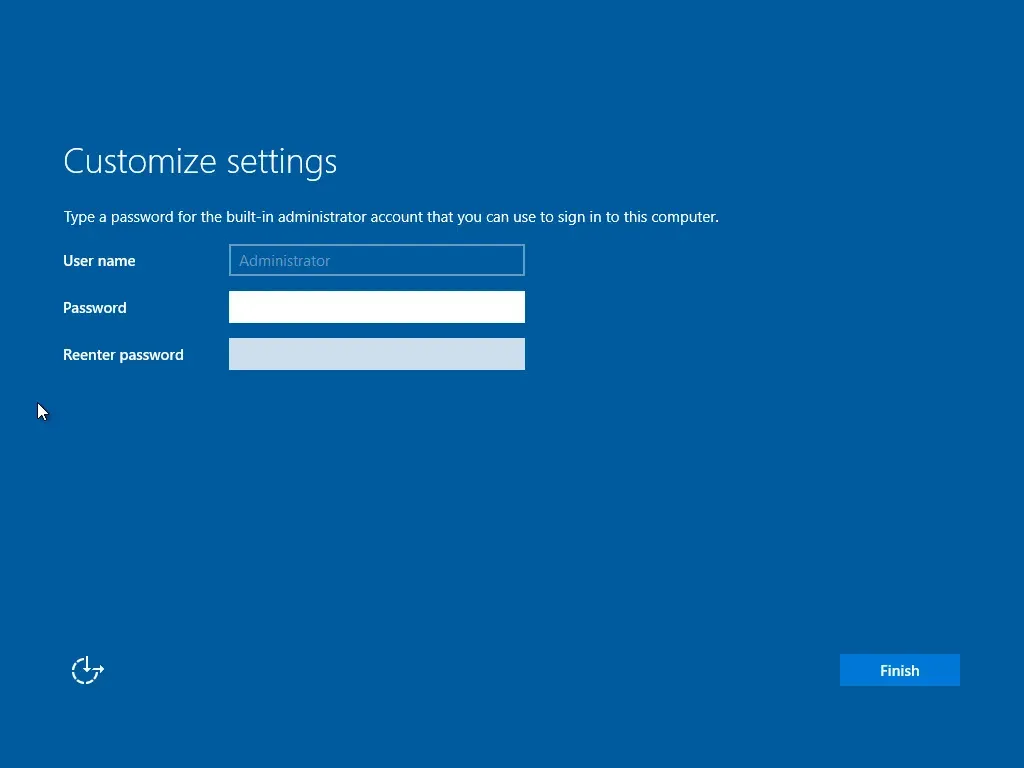
After you place your administrator password, you're done with the installation.
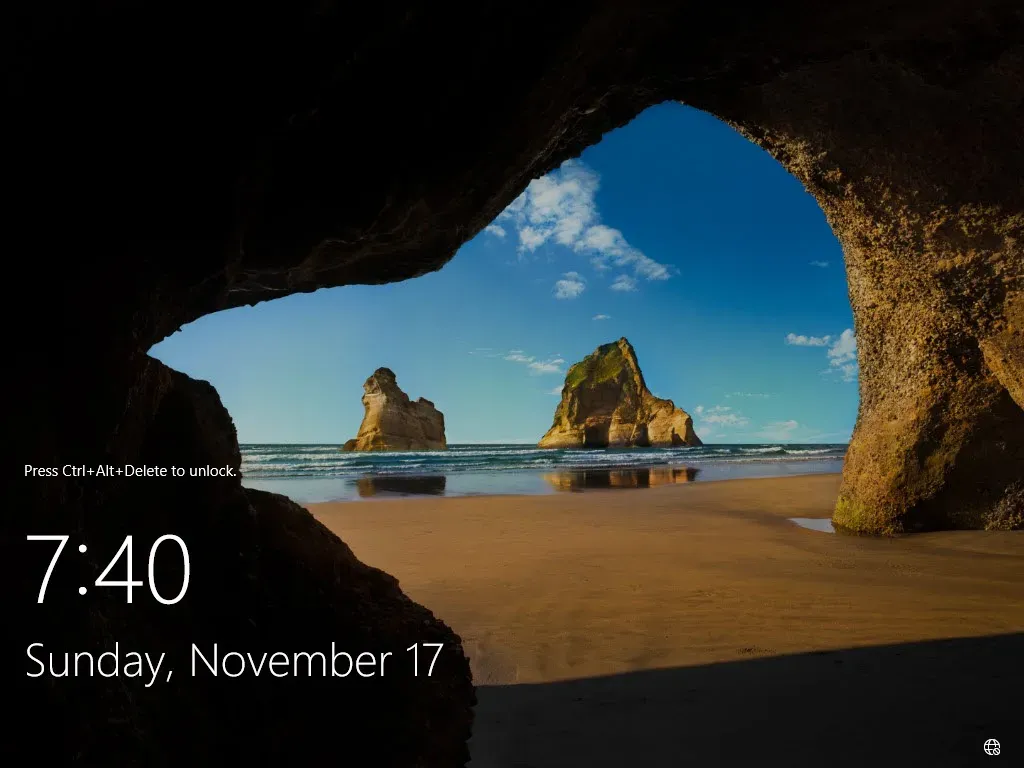
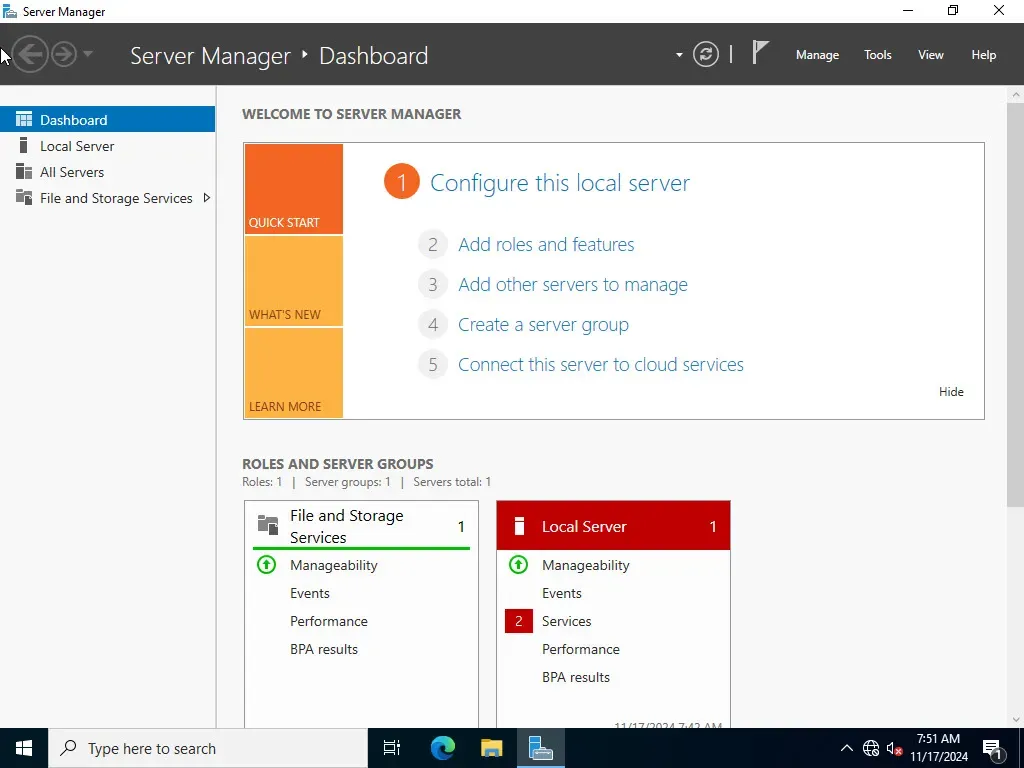
Once you log in, Server Manager (Application) will appear. This is used to manage your server.
