How to Scan for Windows 10 Vulnerability using Nessus
The goal of this post:
- Run a Nessus Scan on a Windows 10 Machine to find a vulnerability
- Patch the vulnerability
Running a Nessus Scan on a Windows 10 Machine
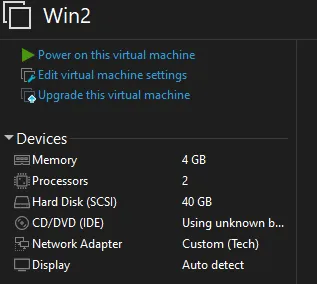
We will start by booting up a Windows 10 machine. I configured it to be in the Tech subnet.
Side note: You can install a Windows 10 VM using this link: Download Windows 10 (https://www.microsoft.com/en-us/software-download/windows10)
Default password: Passw0rd!
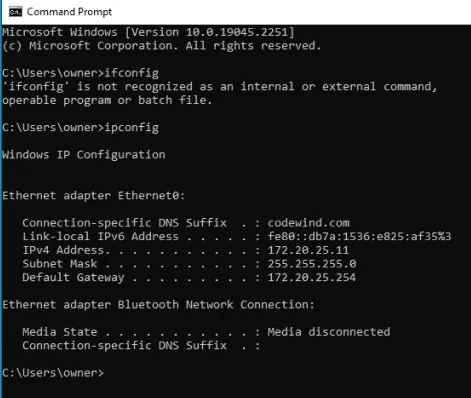
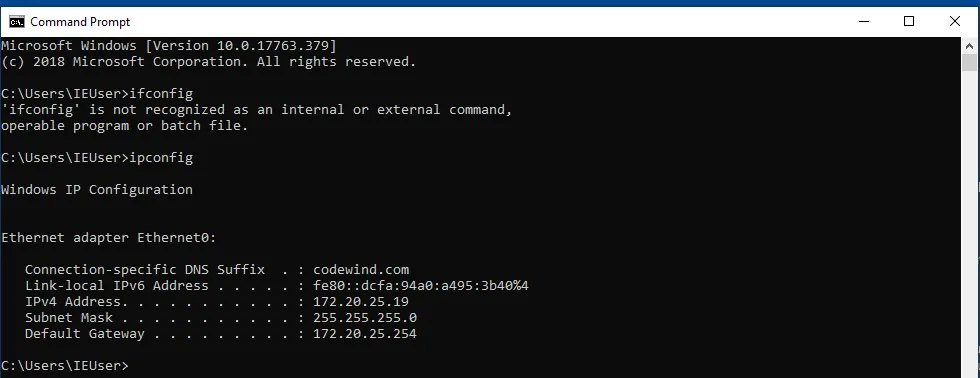
Let’s run an ipconfig to see what the IP is.
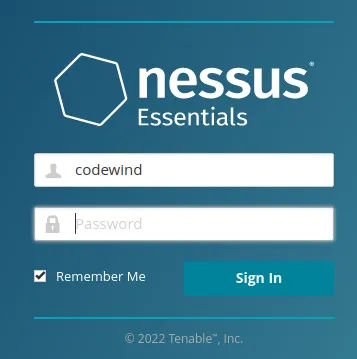
Let’s set up our Nessus scanner
New Scan

Select “Basic Network Scan”

First, we’re going to make an uncredentialed scan and a credential scan to see the difference.
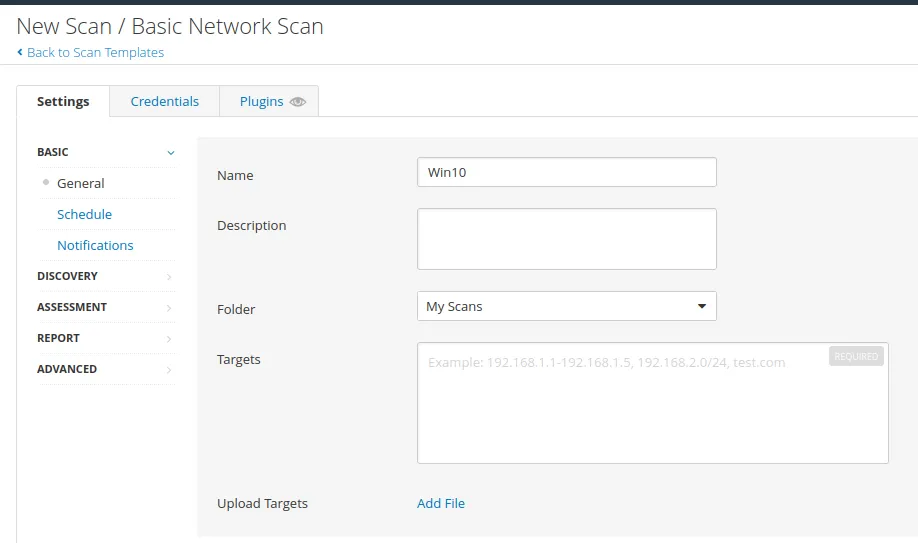
Target: 172.20.25.19
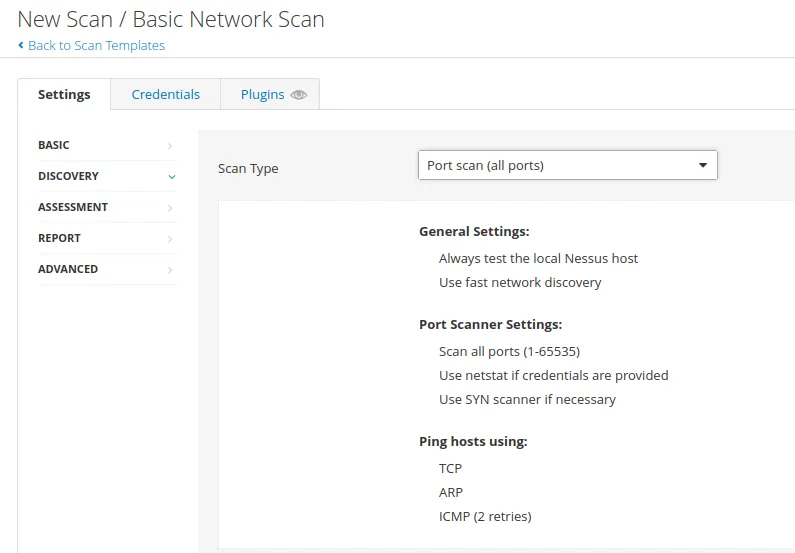
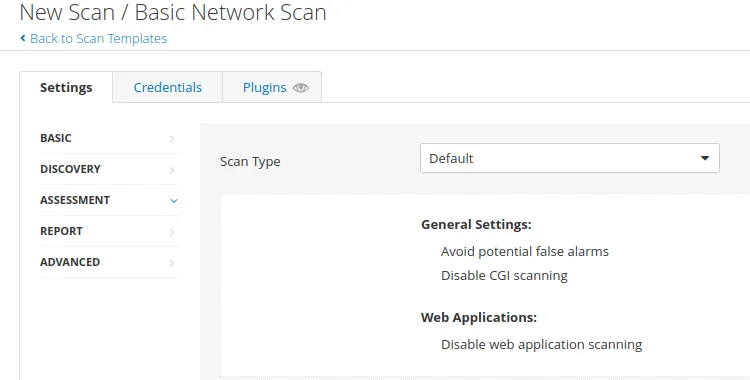
Now, let’s launch the scan..
This is the result:
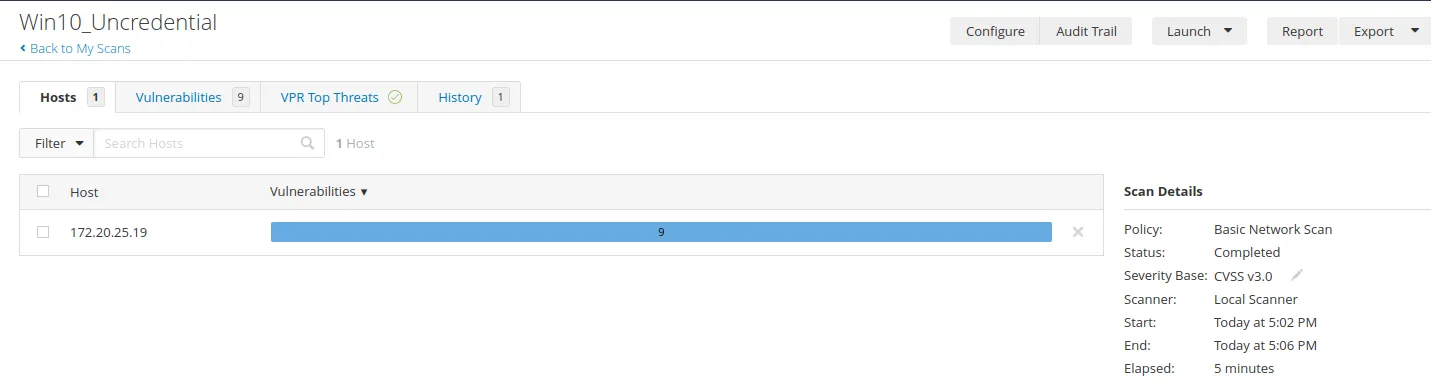
As we can see, we don’t have any critical vulnerabilities. So now, let’s set up a credential scan. But first, we must configure our windows for a credential scan to work.
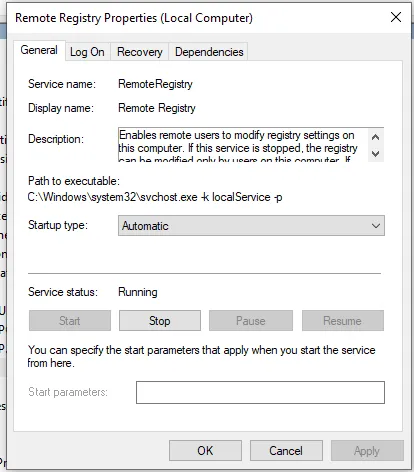
Go to the search bar and search services. After that, look for a registry name: “Remote Registry”. Change the startup type to Automatic. Then, click the start and then click apply. This is what it should look like:
Then go to the search bar and search for Advanced sharing setting
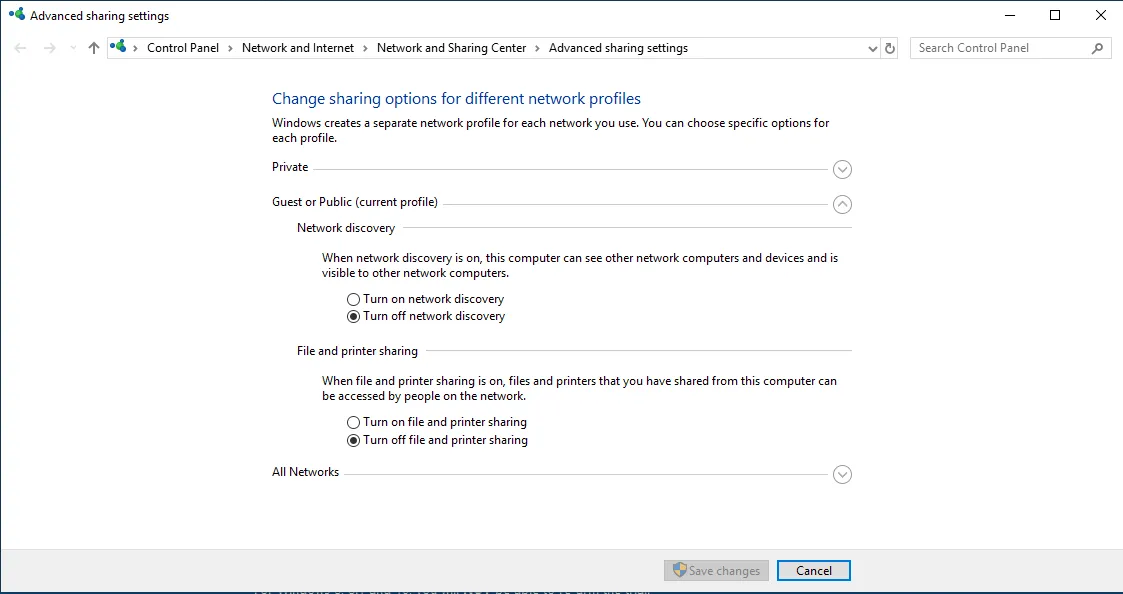
Change it to:
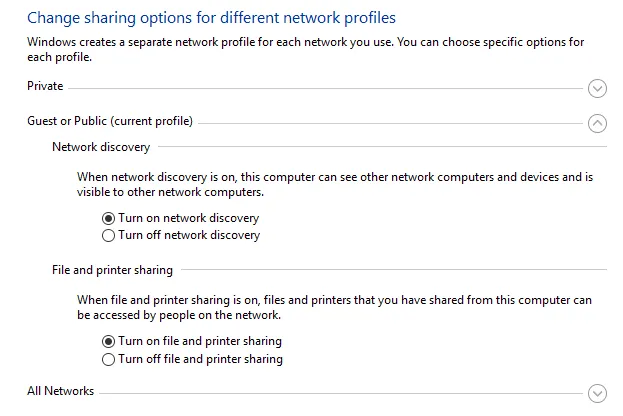
Remember to save changes. Then go to the search bar and search for “User account control settings.”
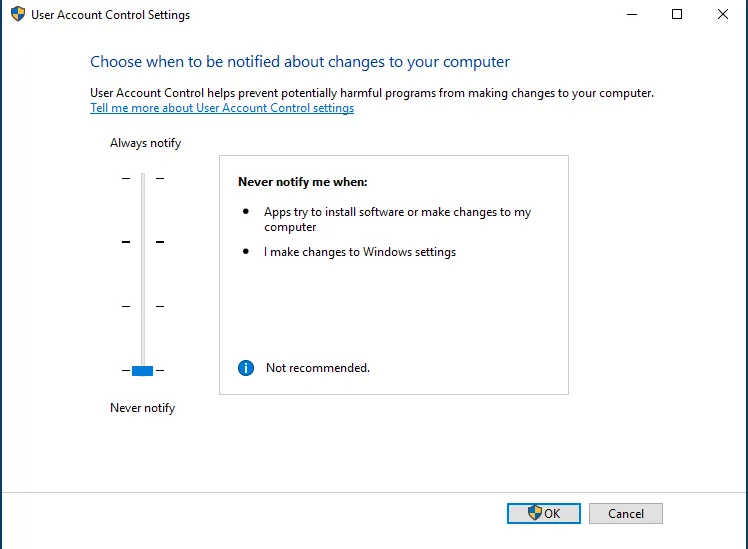
Turn it down. Then go to the search bar and type Registry editor

Navigate to: Computer\HKEY_LOCAL_MACHINE\SOFTWARE\Microsoft\Windows\CurrentVersion\Policies\System
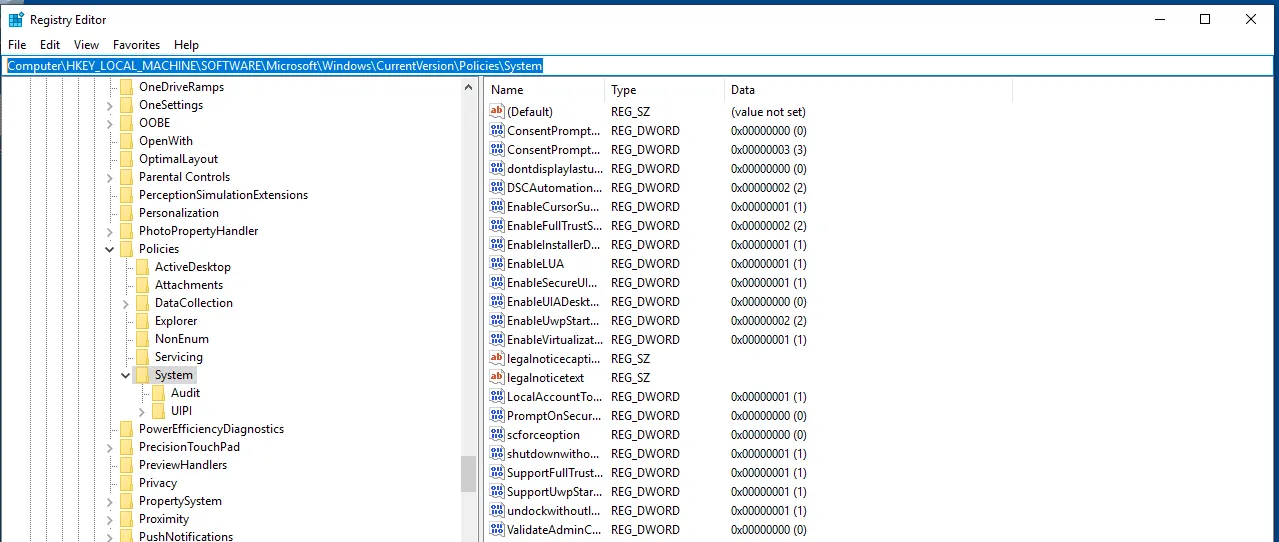
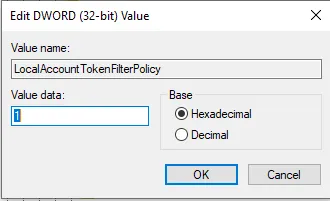
Try to find LocalAccountTokenFilter Policy. No worries, you can create one if you don’t have it by right click -> New -> DWORD -> LocalAccountTokenFilterPolicy
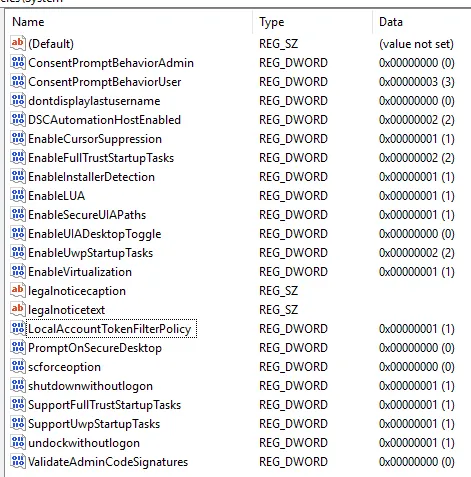
Click on the value to edit it. Make sure the value is set to 1. Then restart the VM.
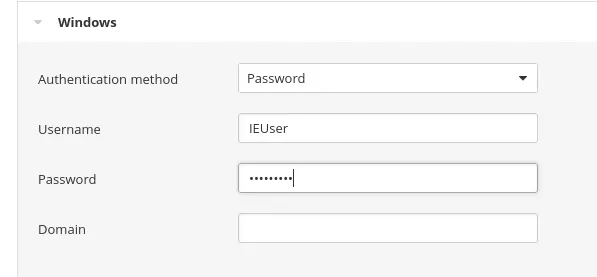
Now, we’re going to create a new scan. It’s the same process. However, make sure you go to the credential tab
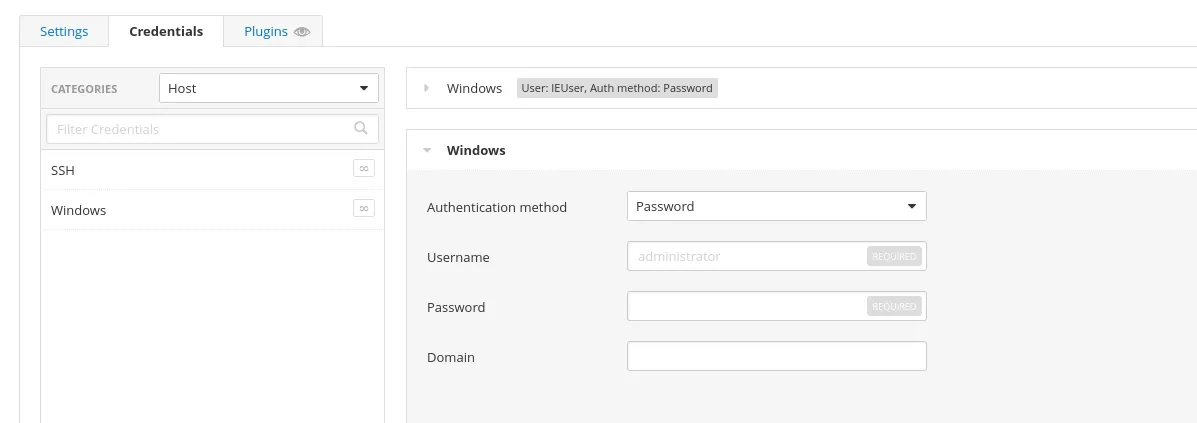
Then for the Username: IEUser
Password: Passw0rd!
Then click save and launch our scan.
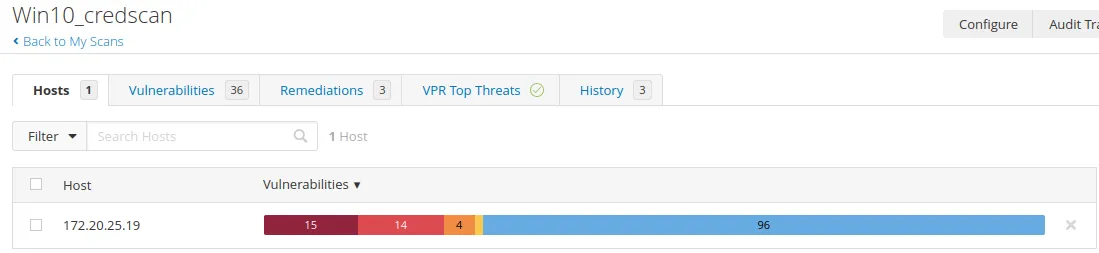
Once our scan is done, we will get something like this:
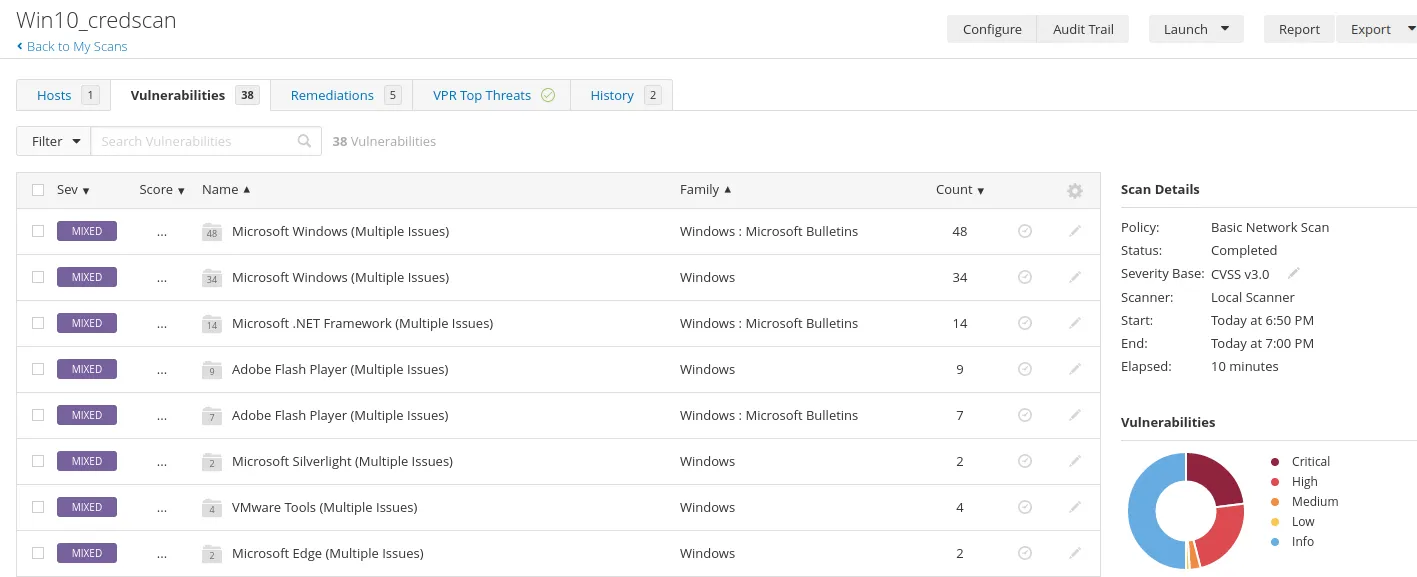

Compared to our uncredentialed scan. That is a huge difference.

Now, let’s check out one of the vulnerabilities
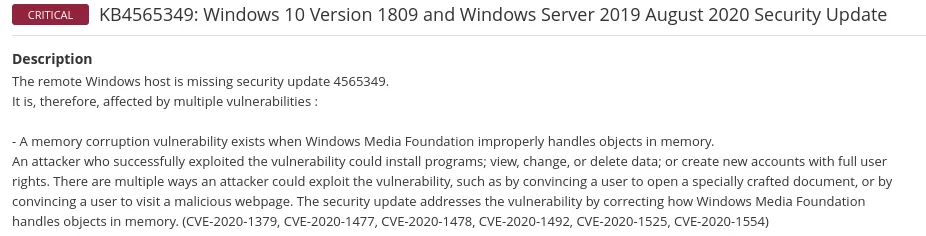
It tells us the Microsoft patch version that patch which CVE. You can even find more information about the CVE in this section
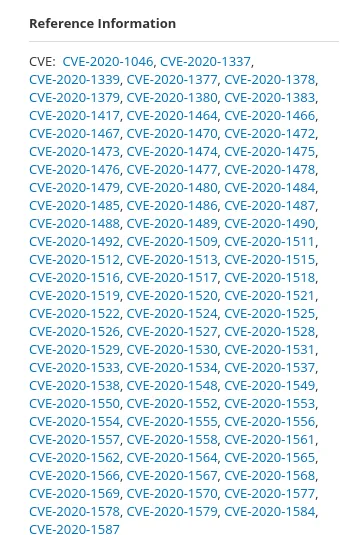
Then it offered us some solutions to patch the vulnerabilities

The next step is doing a Window Update on our VM and seeing how many vulnerabilities we could patch.
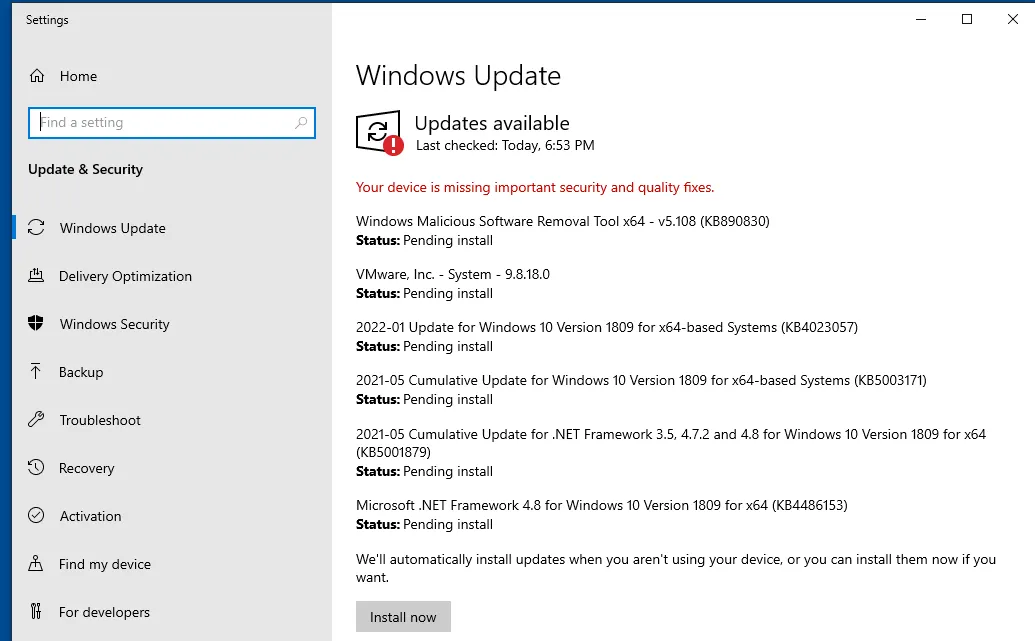
Let’s begin, shall we?
Now that our updates have been installed. Let’s rerun the scan.
Here is the old result:
Here is the new result:
As we can see, our critical vulnerabilities drop dramatically.
Summary: Remediation for vulnerabilities could be simply installing a windows update, closing a port you don’t want to be open, or removing a program with many vulnerabilities. Additionally, you should always test the patch before pushing it to a live server.
Anyways, folks, that is for this section and project. I had fun messing with Nessus and learning about vulnerability management.