Booting Up Windows Server 2019
Note: If you need to zoom in, you can click on the image.
Last time, We installed an virtual machine for our Windows Server. In this post, we are going to boot up our virtual machine and complete the installation. If you didn’t see the last post, here you go: https://securitynguyen.com/posts/windows-server-2019/create-a-empty-shell-windows-server-using-hyperv/
Turn on the Virtual Machine
To turn on the virtual machine, we are going to right-click on our virtual machine and click on “Start”. Then we are going to click “connect”.
Windows Installation
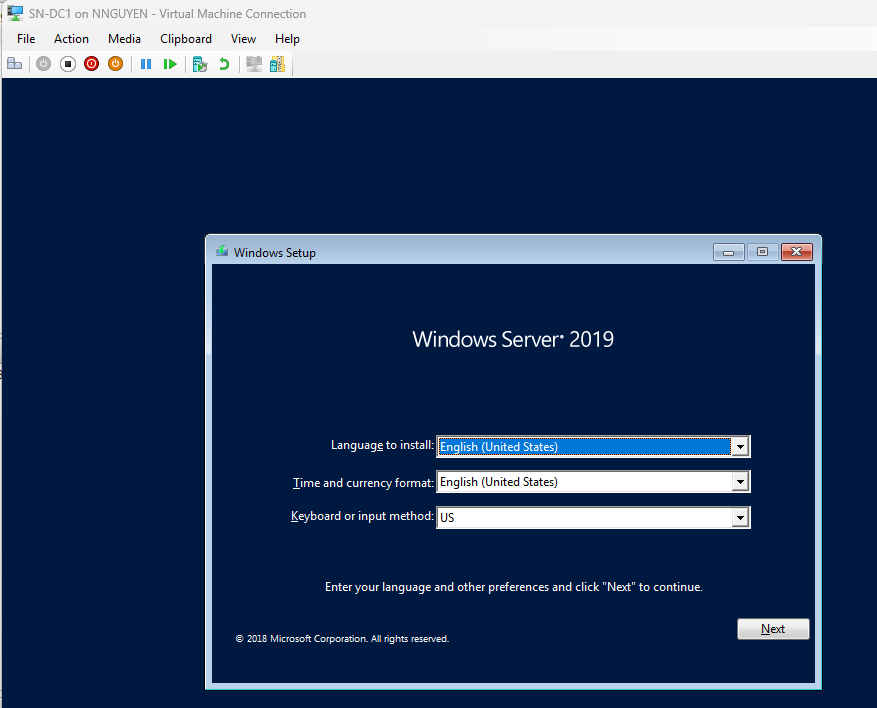
After that, a Windows Setup screen should pop up. We are going click next and then click on “Install Now”. Afterwards, you should see a screen asking “Select the operating system you want to install” with the choices of:
- Windows Server 2019 Standard Evaluation
- Windows Server 2019 Standard Evaluation (Desktop Experience)
- Windows Server 2019 Datacenter Evaluation
- Windows Server 2019 Datacenter Evaluation (Desktop Experience)
Desktop Experience - Has GUI
Without Desktop Experience - No GUI, Reduce Attack Surface.
Standard Evaluation: Limited Virtual Licensing, Only provide 2.
Datacenter: Unlimited Virtualization.
We are going to pick Datacenter (Desktop Experience) and click Next. The next page is licensing and term. We are going pick: "I accept the license term" and click next.
Then it will ask: "What type of installation do you want?" I will choose: "Custom: Install Windows only" and ask you to choose the drive to install the OS on. I will choose Drive 0. Now the installation starts. After the installation process is done, We are going to set up an administrator password for our administrator account. Choose any password you want.
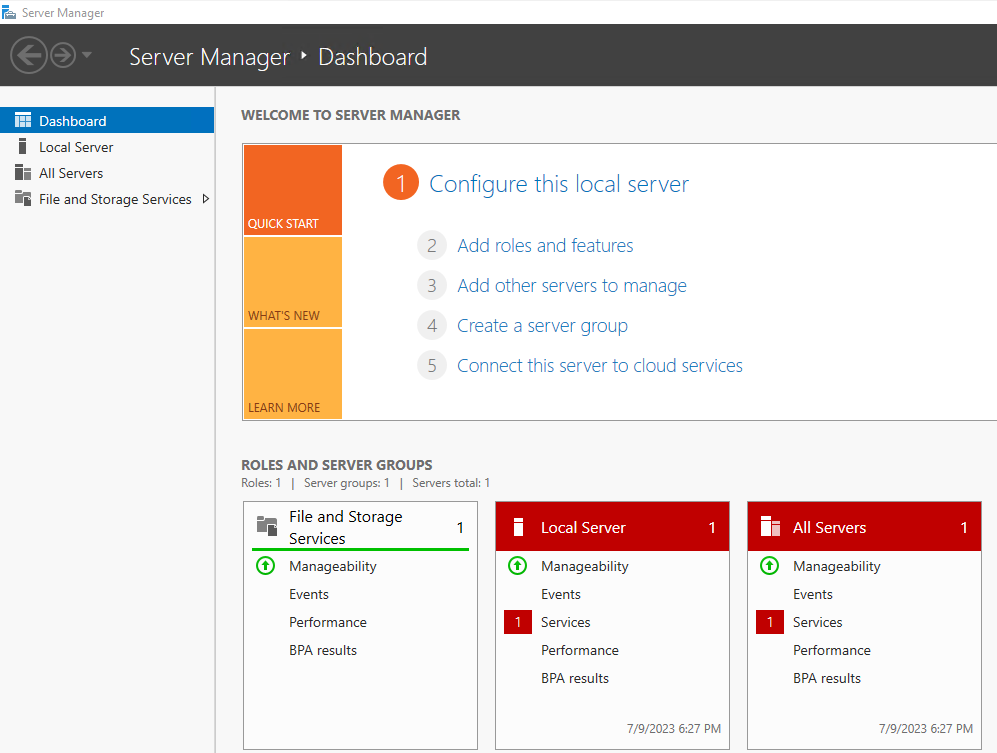
After that the login page should appear and now we're going log in. Once you are loaded in, you will see the Server Manager -> Dashboard. Congratulations you have completed your Windows Server installation.
One more thing, I would like to save a “Checkpoint”. A checkpoint is like a snapshot of what just happen so far, so if you mess up, you can go back to the copy you didn’t mess up. To save a checkpoint click Action -> Checkpoint. Then it will ask you what you want your checkpoint to be. I’ll name it fresh install.
Thank you for reading the blog post :) The next post is going to be what are some thing to do after the installation: https://securitynguyen.com/posts/windows-server-2019/post-installations/