Create a Empty Shell Windows Server using HyperV
Note: If you need to zoom in, you can click on the image.
Virtual Switch
The first step is creating a virtual switch. On the HyperV Manager -> In the Actions Section, you should see a Virtual Switch Manager, Click on it. Then, it will ask you: “what type of virtual switch do you want to create?” We are going to select “External”.
Then we should see our new switch under the “Default Switch” named: “New Virtual Switch”. The name section is what are we going call our new virtual switch. For me, I’m going call it vSwitch1. Under the External network: Select the network adapter that you’re using to receive internet and leave “Allow management operating system to share this network adapter” check.
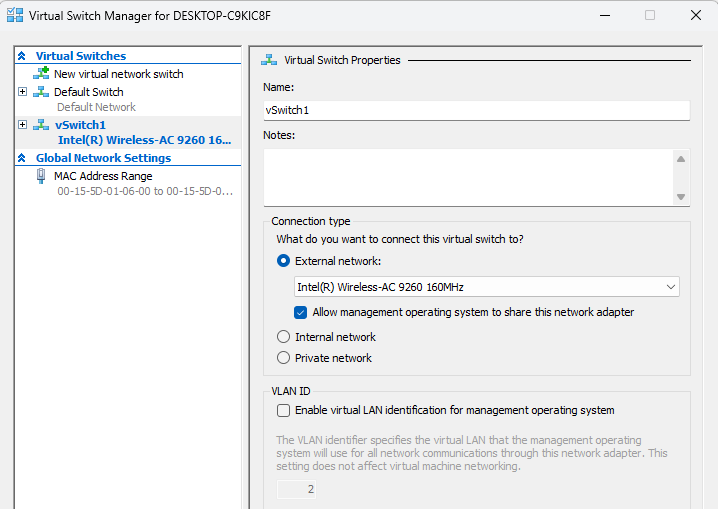
Then we are going to click apply, then a message pop up: “Pending Changes may disrupt network connectivity”. I’m going click Yes.
Virtual Machine
Time to create our Empty Shell Virtual Machine. Under Actions, Click “New” -> Virtual Machine. Click next on the first screen.
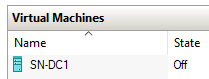
Now it’s asking us what we want to name our virtual machine. I’m going to put “SN-DC1”. Then it will ask us what generation we want. We are going to select: “Generation 2” this support the newer version operating system.
Next, It will ask us to assign how many memory we want to allocate. I’m going allocate 4096 MB, yours might differ due to the amount of memory available to your system. Then I’m going to click on Dynamic Memory - Allows the ram to consume more memory when needed and simply release it when not needed and click next.
Then it ask us to select the connection, we are going to select the switch we just created and click next.
Now it’s asking us to connect virtual hard disk. This simply create the hard drive that the virtual machine will use to store files. I’m going keep it the way it is and click next.
Then it will ask us the installation options, which essentially mean install the operating system. Do we want to install now or do we want to provide a iso that we can install the OS. I’m going to choose “Install a Operating System from a bootable image file” and select the windows server 2019 iso. and click next. Then it will give us a summary of the choices we installed. I’m going click Finish and our virtual machine should be configured.
Here's the link to the next tutorial: https://securitynguyen.com/posts/windows-server-2019/Booting-Up-Windows-Server-2019
Thanks for reading!