Creating a DHCP Server
Note: If you need to zoom in, you can click on the image.
Install DHCP Server using Server Manager
In server manager, click Manage -> Add Roles and Features then the wizard should pop up. Click Next. Click on Role-based or feature-based installations.
Then it ask you what server you want to install it on. That what I’m going to do.
Now for Server Roles, I’m going to choose “DHCP Server” -> Add Features. Then click next under the features section.
Under the DHCP Server in the wizard, it tell you information about what DHCP is. I’m just going click next. Then click install.

Once the DHCP server is installed, we have to complete the DHCP configuration. To do that we are going to click on the flag with the yield sign and click on “Complete DHCP Configuration”. Then a DHCP Post-install configuration wizard pop up. Now we will have to setup “DHCP Administrators” and “DHCP Users”. For now I’ll just click next.
Then it ask us to specify the credentials to be used to authorize this DHCP server in AD DS. I will just click: “Use the following user’s credentials” and click Commit.
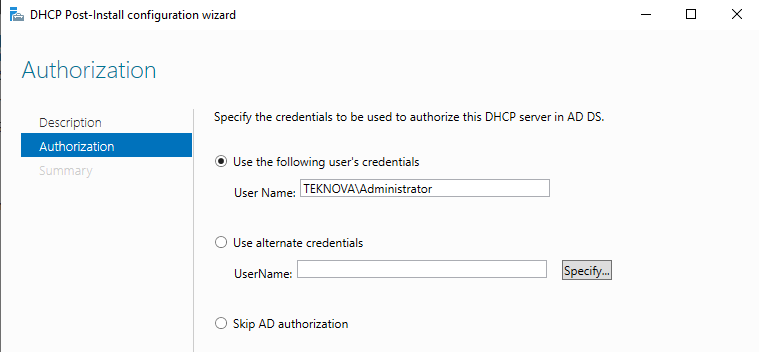
Now we just created the security groups and authorize the DHCP server. When we authorized a DHCP server, we allow the dhcp server to assign the IP address to the domain. Any DHCP server that is not authorized will not be allowed to assign IP address to the domain. This prevent rogue DHCP server.
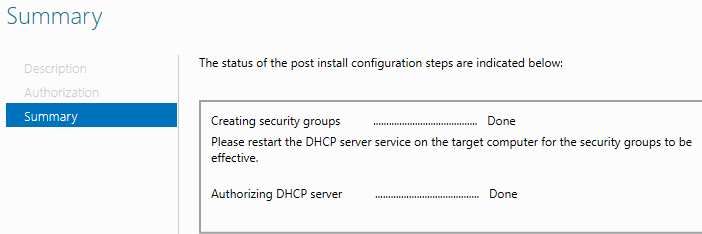
There you go we created a DHCP server.
Install DHCP Server using Powershell
install-windowsfeature dhcp -includemanagementtools
netsh dhcp add securitygroups -> Add the DHCP Admin and DHCP users
Authorized the DHCP server:
Add-DhcpServerInDC -DnsName domainName.com
Create a DHCP Scope using Server Manager
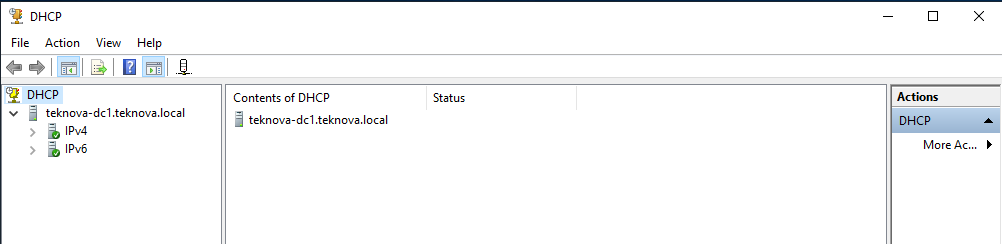
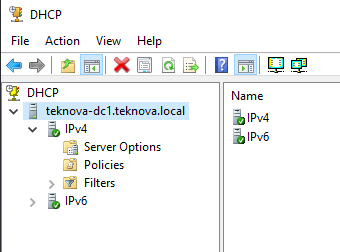
DHCP Scope is the range of IP that the DHCP server will hand out. Let’s create it. First thing I’m going to do is bring up the DHCP menu. To bring up the DHCP menu, click on “Tools” -> DHCP.
Then it will ask you for your IP Address Range. My range is going to be: 192.168.205.1 - 192.168.205.254.
Then it will ask you if you want to exclude any address. This is helpful when you want a a device to keep a IP address forever. For me, I will put in 192.168.205.1 and 192.168.205.2 because these two IP address are for my Windows Server.
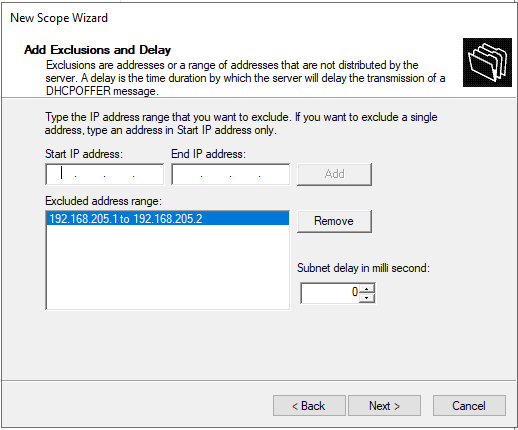
Now I’m going to click Next.
Then It will ask you about Lease Duration. Lease duration is basically how long you want a computer to hold an IP address. I’ll just keep it as it is.
Then it will ask you if you want to configure DHCP options. These are essentially your default gateways, DNS server. I will click Next.
Then it will ask you if you want to add a Router. For this lab, I don’t have any plans on connecting it to the internet so I will leave it empty and click next.
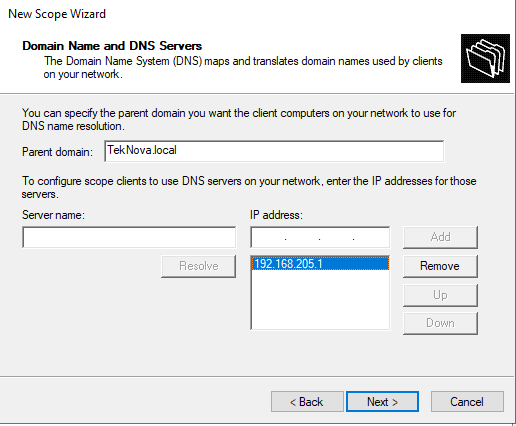
Then it will ask you to enter information about DNS. There nothing to add so I will click next.
Click next for WINS servers. Then it will ask if you want to activate the scope now. I will check: “Yes, I want to activate this scope now” and click Next.
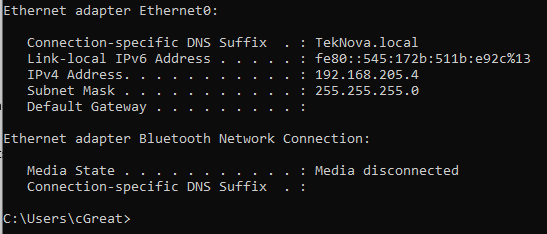
Now, I will go to my client computer and see if they automatically get a IP address from the DHCP server. As you can see from the screenshot, I was able to automatically get an IP address from the DHCP server.

Making DHCP High Availability
Having one DHCP server operating is a single point of failure. If that DHCP crash and unable to work, devices won’t have an way to authenticate into Windows Server or even receive internet. To avoid this problem, we will create a DHCP failover.
What is a DHCP failover?
Scopes are replicated from one DHCP to another DHCP server.
Demonstration: Create a DHCP Failover
We will be creating a DHCP Failover. Let’s bring up the DHCP Tool. Right click “Scope” -> Click Configure Failover. Then a Configure Failover wizard should appear. I am going to click Next.
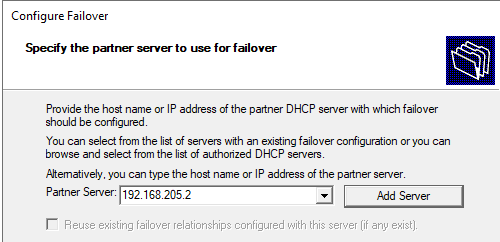
Then it will ask you to specify the partner server to use for failover. Basically, what it trying to say is select the server you want to backup with. For this example, I’m going to choose my server. So I will choose: “Add Server”. Then I will choose my server and click ok. Then it will add the IP address of your backup server.
Now it will ask you to create a new failover relationship. It will ask if you want the backup server to be a load balance or a hot standby.
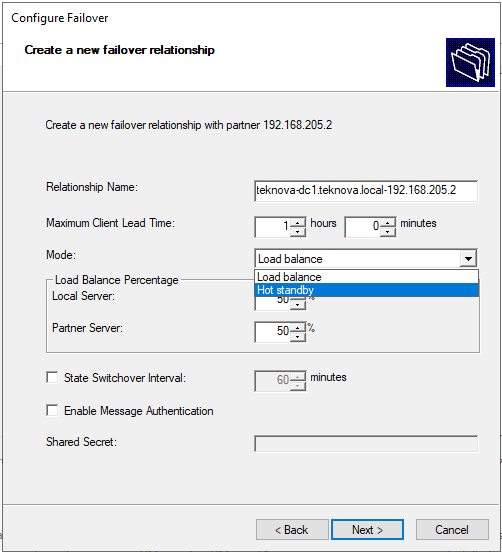
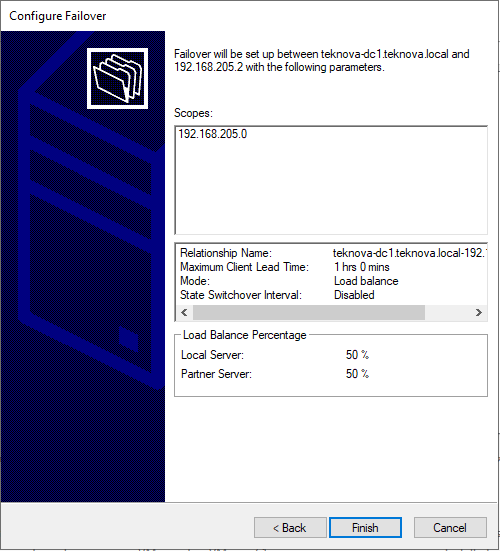
Hot standby is when the server is when the backup server will wait for the primary DHCP server to crash and then take over. Load balance is when two server will hand out IP address at the same time. For now, I will keep it at Load Balance. Then I will click next and finish.
How do we know if our server was successfully configured to be a failover?
If we right click the Scope folder on our server folder, we can see “Deconfigure Failover”. That mean we successfully configured our server to be a failover.

That all I wanted to cover for DHCP. Thanks for reading.